We use cookies to make your experience better. To comply with the new e-Privacy directive, we need to ask for your consent to set the cookies. Learn more.
Creative Zone
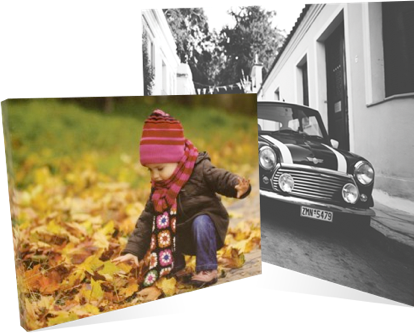
Welcome to our Creative Zone, where you will find access to both our Printiy service and Canvas Creator
The Canvas Creator
The QuickPro Canvas Creator software is a fantastic software solution for both Mac and PC users - simply create and upload your own designs or artwork to our specially designed canvas templates. It has been exclusively developed for you to help make creating QuickPro Artwrap canvases even easier!
Our canvas templates offer you the opportunity to create unique designs using our blank template layouts, with a range of different sizes and border effects for you to choose from. This canvas wrap software is intuitive, easy to use and is a completely free service from Adventa.
Upload your artwork today, and see how easy it is to create bespoke canvases with the QuickPro ArtWrap Canvas Creator…
- Mac & PC Compatible
- Mobile responsive, upload your image from any device
- Max file size of up to 50MB
- Save your template as a JPEG
- Simple functionality and easy to print
Check out how easy it is to use the QuickPro Canvas Creator.
Step 1 - Upload a photo
Ensure your image is in JPEG format and under 40mb. Then simply browse your folder and select the image that you have just created.
Step 2 - Select the canvas size
There are a range of options available including: 8 x 8, 8 x 12, 12 x 12, 12 x 16, 16 x 20, 20 x 30.
For rectangle canvases select whether you would like a landscape or a portrait canvas.
Step 3 - Select the border
Select from a wide range of borders.
Step 4 - Generate a PDF
Once you are happy with the border you selected click the forward button. The software will then generate a preview. Left click into the preview image to download the template as a PDF. You can save for later or hit print to get making your canvas.
Step 5 - Select printer settings
When you are ready to print you will need to add 4 either side of the template in order for the canvas template to print at the appropriate size. So, for example, if you wish to have a 12 x 16 canvas, enter 16 x 20 in the printer settings.
Make your canvas
Our QuickPro ArtWrap system works with a range of mediums from cotton canvas to polyester canvas to satin and gloss paper. So once you have decided on your medium and printed your image, you are set for making up the canvas itself.